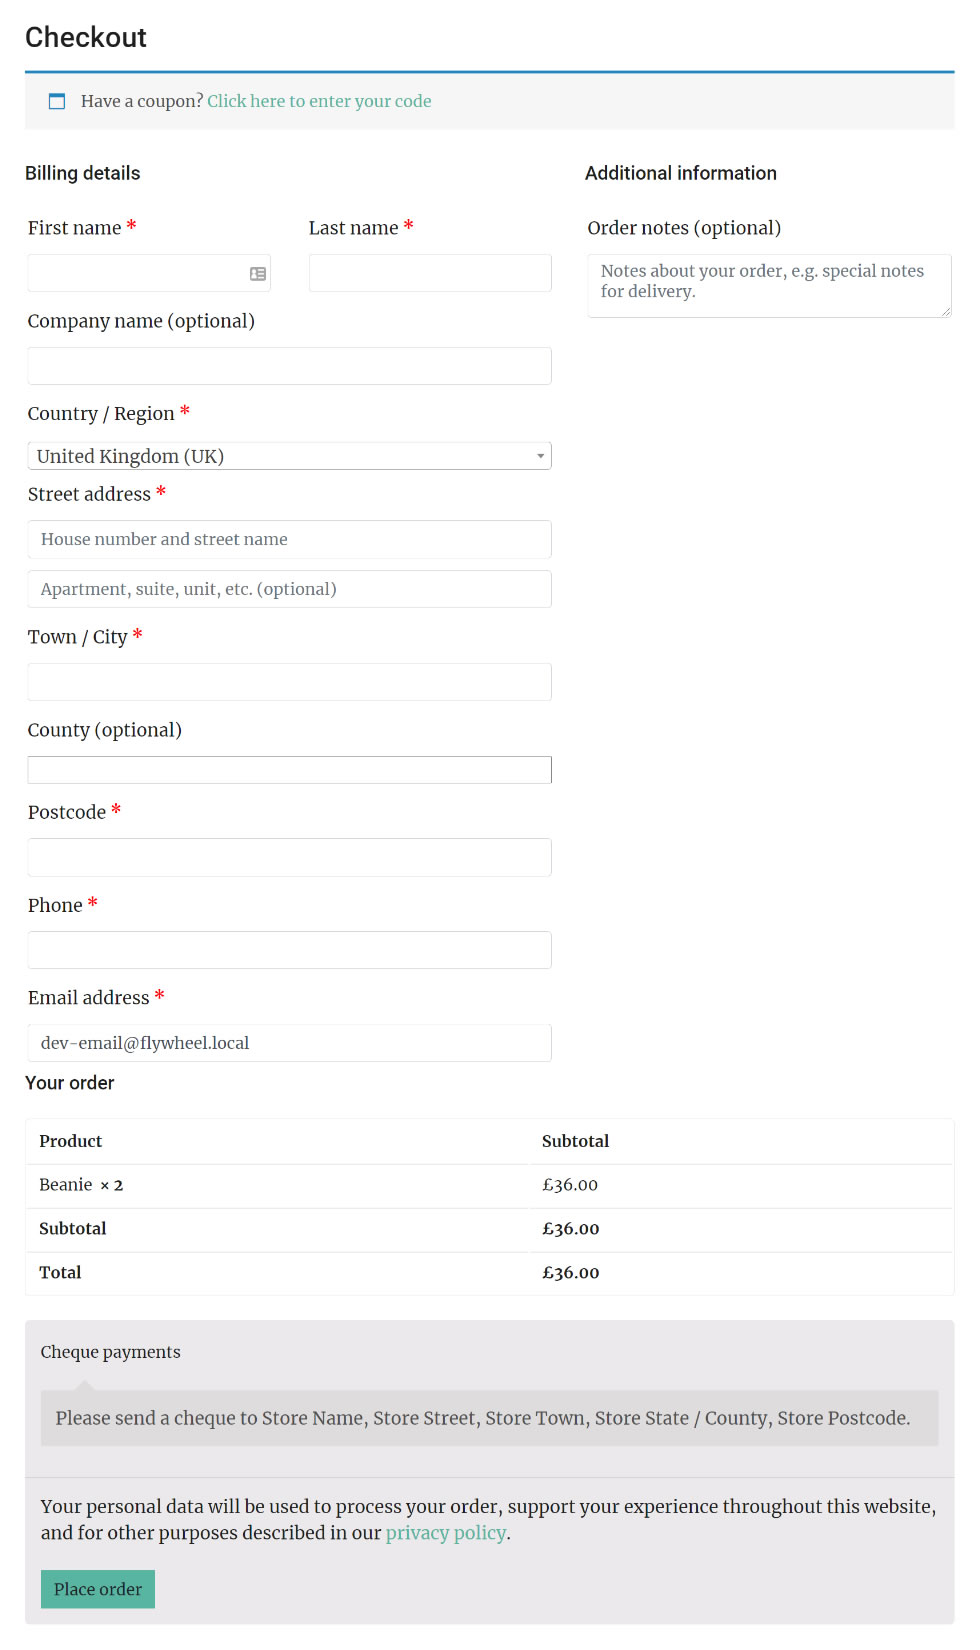
By default WooCommerce provides a single page checkout, which in a lot circumstances is the recommended approach as it encourages conversions by reducing the number of clicks required to purchase a product.
However, depending on your page layout, or if there are a lot of custom fields included, a single page might start to become overwhelming. This was an issue that a client faced recently and asked me to look into.
There are plugins for WooCommerce that will create a multi-step checkout, but these can bring a lot of unwanted features and weight with them. Also, some third party plugins from services such as shipping and finance might only be compatible with the default checkout.
The following method achieves the effect with a relatively small amount of JavaScript and preserves the default page elements.
To begin with we’ll add some buttons to the bottom of the checkout via a hook in functions.php.
add_action( 'woocommerce_after_checkout_form', 'step_controls');
function step_controls() {
	echo '
		<div class="step_controls_container">
			<a class="btn-primary step_back_to_basket" href="'.site_url("/cart", "https").'">Back to Basket</a>
			<a class="btn-primary step_next">Next</a>
			<a class="btn-primary step_prev">Previous</a>
		</div>
	';
}
As WordPress comes bundled with jQuery, we’re going to use it for this example. (Don’t forget to enqueue your JS file correctly.)
This example only includes billing and payment, but if you have custom checkout areas you will need more steps. Therefore, we will use an object to hold the steps which can be expanded or reordered in future.
A variable is also created to store the activeStep later on. Finally, an adjusted array length is created to account for step 1 being at index 0 etc.
var steps = [
	{
	    name: 'Billing & Shipping Details',
	    selector: '#customer_details'
	},
	{
	    name: 'Order Review & Payment',
	    selector: '#order_review'
	}
]
var activeStep;
// Adjust the array length to match zero-base
var stepsLengthAdjusted = steps.length - 1;
Note here that the selectors are the defaults used in WooCommerce’s HTML. Next we create functions to control the steps. To keep track of the current step sessionStorage is used.
// Utility functions
function initSteps() {
	// Set first checkout step
	sessionStorage.setItem('checkout_step', '0');
}
function getCurrentStep() {
	return sessionStorage.getItem('checkout_step');
}
function showCurrentStep() {
	activeStep = getCurrentStep();
	// Loop through the steps and see which is currently active
	for (let i = 0; i < steps.length; i++){
		let stepSelector = steps[i].selector;
		if ( i != activeStep ) {
			// Hide if not the current step
			$(stepSelector).hide();
		} else {
			// Show the correct step div
			$(stepSelector).fadeIn();
			// Show or hide navigation  buttons as appropriate
			$('.step_next, .step_prev').show();
			if ( getCurrentStep() == stepsLengthAdjusted ) {
				// This is the last step, so remove next button
				$('.step_next').hide();
			}
			if ( getCurrentStep() == 0 ) {
				// This is the first step, so remove previous button
				$('.step_prev').hide();
			}
		}
	}
	// Always go to the top of the steps
	$("body").get(0).scrollIntoView();
}
function nextStep() {
	if ( getCurrentStep() < stepsLengthAdjusted ) {
		var nextStep = parseInt(getCurrentStep()) + 1;
		sessionStorage.setItem('checkout_step', nextStep);
		showCurrentStep();
	}
}
function previousStep() {
	if ( getCurrentStep() > 0 ) {
		var previousStep = parseInt(getCurrentStep()) - 1;
		sessionStorage.setItem('checkout_step', previousStep);
		showCurrentStep();
	}
}
The showCurrentStep does most of the work, showing or hiding the appropriate divs, and also cleans up the navigation by only showing relevant buttons. If you add a third or fourth step, both buttons would should show for the middle steps.
Now a small amount of code will get this working.
// Initialise
if ( getCurrentStep() == null ) {
	initSteps();
}
// Always show the correct step
showCurrentStep();
// Navigation
$('.step_next').click(function() {
	nextStep();
});
$('.step_prev').click(function() {
	previousStep();
});
// Hide a elements not in parent containers!
$('h3#order_review_heading').hide();
If you test this code, you should be able to step from billing details to payment methods.
Tidying up
Using session storage means the browser will remember which step the user was on. This is handy if the user accidently refreshes or reloads the page. However, if they navigate away to the basket, or view other products and change their order, it could be disorientating to return to the last step of the checkout.
One way around this would be to reset the checkout steps when not on the checkout page. I’m currently looking into a neater way to do this that doesn’t need to fire this on non-checkout page loads.
// Flush the current step when navigating away from checkout to prevent customer confusion
if ( !$('body').hasClass('woocommerce-checkout') ) {
	initSteps();
}
Validation
One final thing that will help the user experience is changing to the correct step when an invalid field is detected.
WooCommerce has a ‘checkout_error’ event that is triggered when the validator finds an invalid field. We can add some code to this which loops through the steps and checks if anything has been flagged with the invalid class. If so, then we can set that as the current step and show it to the user.
$('body').on('checkout_error', function(){
	for (let i = 0; i < steps.length; i++){
		let stepSelector = steps[i].selector;
		let fields = stepSelector + ' p';
		$( fields ).each(function() {
			if ( $(this).hasClass('woocommerce-invalid') ) {
				sessionStorage.setItem('checkout_step', i);
				showCurrentStep();
				return false;
			}
		});
	}
});